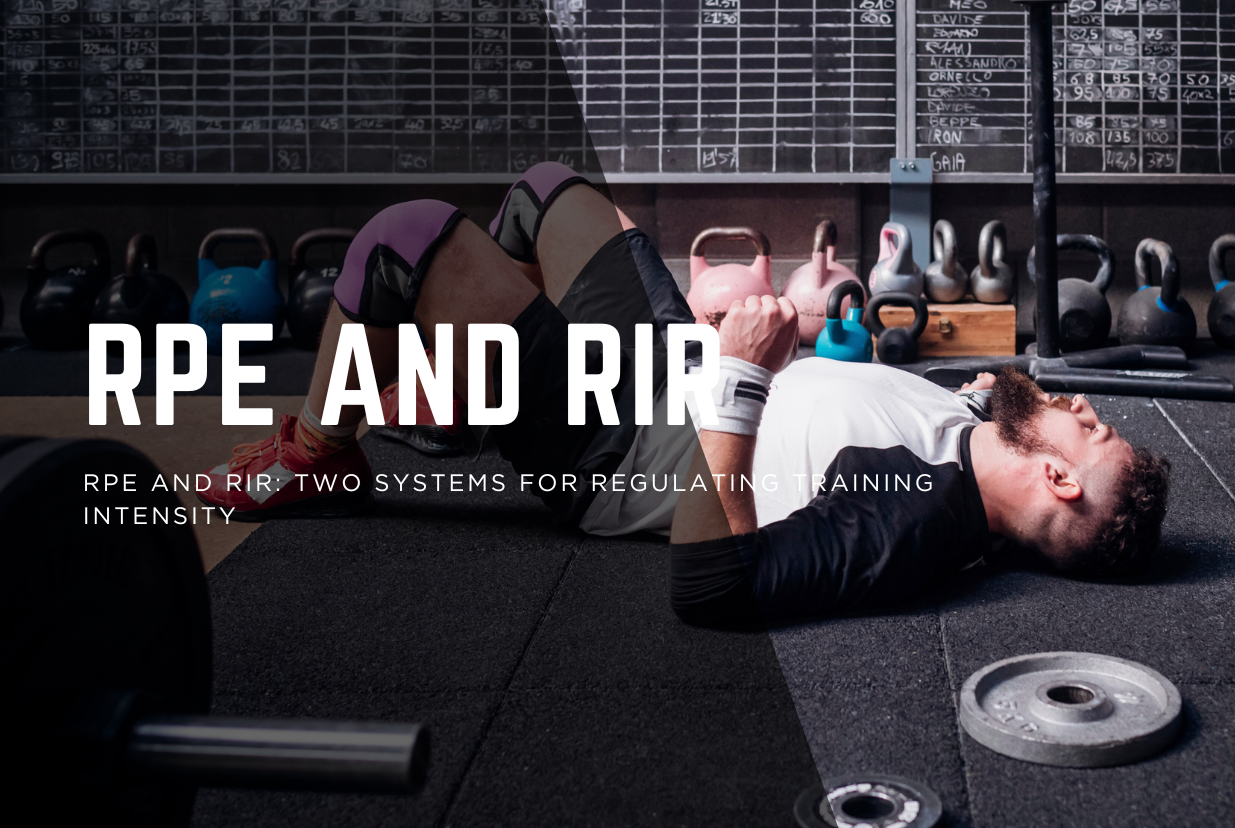
RPE and RIR: Two Systems for Regulating Training Intensity
Most people regulate training intensity by feel. “That felt heavy” or “I could have done more” are common post-set assessments, but they’re too vague to drive systematic progress. Two structured systems exist for turning subjective effort into programmable data: RPE (Rate of Perceived Exertion) and RIR (Reps in Reserve). They measure related but distinct things, and each is better suited to different training contexts.
Understanding when to use which system makes every training decision more precise.
RPE: Rating Overall Effort
RPE is a scale of perceived effort across any physical task. The original Borg scale (developed in the 1960s for exercise physiology research) ran from 6 to 20, mapping loosely to heart rate. The modified version used in most training contexts today runs from 1 to 10, where 1 is essentially resting and 10 is maximum possible effort.
RPE measures how hard something feels globally. It accounts for cardiovascular stress, muscular fatigue, mental effort, breathing difficulty, and overall systemic load. When you finish a 15-minute conditioning piece and rate it an 8 out of 10, you’re describing your total experience of effort, not a single muscle’s proximity to failure.
This makes RPE ideal for activities where the limiting factor isn’t one muscle group reaching failure but rather the cumulative demand on your entire system: conditioning work, interval training, running, rowing, circuit-style metcons. In these contexts, no single muscle is “failing.” Your heart rate is high, your breathing is labored, your legs are burning, and your grip is challenged all at once. RPE captures that holistic experience in a single number.
RIR: Counting What’s Left in the Tank
RIR measures something much more specific: how many additional reps you could have completed on a given exercise before reaching muscular failure with acceptable technique. It’s a countdown from failure rather than a rating of overall effort.
0 RIR: Failure. You attempted to complete another rep and could not, or your technique broke down to the point where continuing would be unsafe.
1 RIR: One rep left. You’re confident you could complete one more quality rep but not two.
2 RIR: Two reps left. The set was challenging but you had a clear margin before failure.
3 RIR: Three reps left. Moderate effort. The set felt controlled throughout.
4+ RIR: Warm-up territory for most working set prescriptions.
Research on the RIR-based RPE scale (Zourdos et al., 2016, Journal of Strength and Conditioning Research) demonstrated a strong inverse relationship between lifters’ RIR estimates and bar velocity, particularly in experienced trainees. Experienced lifters consistently provided more accurate estimations than novices, especially at higher intensities. This makes RIR a practical tool for managing lifting intensity once you’ve developed the skill of honest self-assessment, though accuracy improves the closer you get to failure.
The Inverse Relationship
RPE and RIR are inversely related on a simple scale. RPE 10 corresponds to 0 RIR (maximum effort, nothing left). RPE 9 corresponds to 1 RIR. RPE 8 corresponds to 2 RIR. RPE 7 corresponds to 3 RIR. And so on.
The numbers mirror each other, which is why people often use the terms interchangeably. But the distinction matters because they’re measuring different things and excel in different training contexts.
RIR asks: “How close was this specific muscle group to failure on this specific exercise?”
RPE asks: “How hard did that overall effort feel?”
For a set of heavy squats, both questions have similar answers because the limiting factor is muscular. For a 12-minute AMRAP of burpees, rowing, and wall balls, the RIR question barely makes sense (which muscle? failing how?) while the RPE question captures the experience perfectly.
Why RIR Is Better for Strength and Hypertrophy Work
Strength and hypertrophy adaptations are driven by mechanical tension on specific muscles. The closer a set gets to muscular failure, the more motor units are recruited and the greater the growth signal. The body of research on proximity-to-failure and hypertrophy, including the systematic review by Refalo and colleagues (2023, Sports Medicine), supports the practical recommendation that sets should generally reach approximately 3 RIR or closer to produce meaningful hypertrophic stimulus, though the exact threshold likely varies between individuals and exercises.
RIR directly measures this proximity to the stimulus threshold. When a program prescribes “back squat, 4 sets of 6 at 2 RIR,” you know exactly what’s being asked: load the bar heavy enough that you could complete 8 reps but stop at 6. That precision allows you to hit the right intensity regardless of whether today is a strong day or a tired day.
This specificity matters for several reasons.
It prevents junk volume. A set of bicep curls at 5 RIR barely registers as a hypertrophic stimulus. RIR tells you directly whether you’re working hard enough on that exercise to make the set count, whereas a general RPE rating might be misleading (the overall session might feel hard even if individual sets are too easy).
It accounts for fatigue across sets. Your first working set of deadlifts might be 2 RIR at 150kg. By set four, that same 150kg might be 0 RIR because of accumulated fatigue. This drift is normal and expected. The RIR target guides your first set’s load selection. As fatigue builds across subsequent sets, you’ll naturally get closer to failure with the same weight. That’s productive, not a problem. You only need to reduce weight if you can no longer hit the minimum rep range with good technique.
It calibrates intensity across exercises differently. 2 RIR on a heavy squat produces a very different overall feeling than 2 RIR on lateral raises. The squat at 2 RIR might feel like overall RPE 9 because the systemic demand is massive. The lateral raises at 2 RIR might feel like overall RPE 6 because only a small muscle is being challenged. But the proximity to muscular failure, and therefore the hypertrophic stimulus, is equivalent. RIR captures this. General RPE doesn’t.
It guides exercise-specific decisions. Programs can prescribe different RIR targets for different exercise types within the same session. Heavy compound lifts at 2-3 RIR (leaving a safety margin for complex movements under heavy load). Isolation accessories at 1-2 RIR or even 0 RIR (taking sets closer to failure is safer on machines and single-joint movements where technique breakdown carries minimal injury risk). This nuance is impossible with a single session-wide RPE target.
RIR Targets for Strength Work
For strength development (sets of 1-6 reps with heavy loads), 2-3 RIR on most working sets is the productive range. Research consistently shows that maximal strength improves without training to failure, provided loads are sufficiently heavy (above 75-80% of one-rep max) and sets are taken within 3 reps of failure.
Going to 0 RIR on heavy compound lifts increases injury risk disproportionately to the additional stimulus. The last rep of a grinding squat set involves the most technique degradation, the highest spinal loading, and the greatest chance of positional failure. Stopping 2 reps short preserves technique and allows consistent performance across multiple sets and across the training week.
RIR Targets for Hypertrophy Work
For hypertrophy (sets of 6-15+ reps), 1-3 RIR covers the productive range. The concept of “effective reps,” those final reps in a set where motor unit recruitment is near-maximal, has gained traction in the research literature. The general principle is well supported: the majority of the hypertrophic stimulus from a set comes from the reps closest to failure, where the most muscle fibers are being recruited. A set at 2 RIR captures most of these high-recruitment reps. Going to 0 RIR adds a small number of additional effective reps but generates significantly more systemic fatigue, lengthens recovery, and can degrade technique on compound movements.
The practical approach: most hypertrophy sets at 2 RIR on compounds and 1 RIR on isolation work, with occasional 0 RIR sets on isolations where it’s safe. This accumulates high-quality volume without burying your recovery.
Why RPE Is Better for Conditioning
Conditioning work doesn’t have a meaningful “failure” point on any single exercise. A 15-minute AMRAP ends because of time, not because a specific muscle can’t contract anymore. An 800-meter run interval is limited by cardiovascular output and lactate accumulation, not bicep failure.
Trying to apply RIR to conditioning is like trying to measure water temperature with a ruler. It’s the wrong tool for what you’re measuring.
RPE captures what actually matters in conditioning: how hard the overall effort felt relative to your maximum sustainable output. This allows meaningful intensity prescription.
RPE 4-5 conditioning is aerobic base work. Conversational pace. You could sustain this effort for 30 minutes or more without any drop in output. Heart rate stays in zone 2 to low zone 3. This is the intensity for building foundational cardiovascular capacity without accumulating excessive fatigue. In FLEX, this corresponds to Forever pacing.
RPE 6-7 conditioning is moderate intensity. Breathing is noticeably elevated. You can speak in short sentences but not paragraphs. This is the fastest pace you can maintain for the full duration of a workout without meaningful drop-off. In FLEX, this corresponds to Sustainable pacing. Most general fitness conditioning sessions target this range.
RPE 8-9 conditioning is high intensity. Speaking is difficult. Intentionally faster than what you could hold for the entire workout. Used for shorter conditioning pieces or intervals where planned recovery is built in. In FLEX, this corresponds to Aggressive pacing.
RPE 9-10 conditioning is all-out effort. Maximum output for very short durations with ample recovery between efforts. Used sparingly for peak power development. In FLEX, this corresponds to All-Out pacing.
Just like RIR drift on lifting sets, RPE will drift upward during conditioning. A 30-minute Forever piece that starts at RPE 4-5 might feel like RPE 6-7 by the end even if your pace hasn’t changed. The same applies to repeated intervals: the first round will always feel easier than the last at the same pace. This is normal physiology (cardiac drift, accumulated fatigue, thermoregulation). The pacing target describes how you start, not how it feels at the finish.
These distinctions allow pacing, which is the most important and most undertrained conditioning skill. Knowing the difference between RPE 5 and RPE 8 during a conditioning piece lets you hit the right intensity for the prescribed stimulus rather than defaulting to “as hard as possible” every session. This is why FLEX uses pacing names (Forever, Sustainable, Aggressive, All-Out) rather than raw RPE numbers in programming. The names communicate intent instantly without requiring months of RPE calibration. A member on their first week can execute “Sustainable” correctly. Executing “RPE 6.5” requires internal awareness that takes time to develop. The RPE values mapped to each pacing category are reference points for members who want more precision, not a replacement for the pacing system itself. For a full breakdown of how these pacing categories work in practice, see the conditioning pacing guide in the help center.
Percentage-Based Training and Where It Fits
Percentage-based programming (prescribing loads as a percentage of your one-rep max) still has value, particularly for beginners who haven’t developed the internal calibration needed for accurate RIR estimation. “Squat at 75% of your max” is a concrete instruction that doesn’t require subjective assessment.
The limitation is that your true capacity fluctuates daily. Sleep, stress, nutrition, accumulated fatigue, and dozens of other variables affect performance. Your 1RM on a great day might be 10-15% higher than on a bad day. A fixed percentage hits differently depending on conditions.
Percentage-based and RIR-based prescriptions work well together. A program might prescribe “squat at 78-82% for sets of 5, targeting 2-3 RIR.” The percentage gives you a starting weight. The RIR target tells you whether that weight is right for today. If 80% feels like 1 RIR instead of the target 2-3, drop to 77%. If it feels like 4 RIR, move to 83%. The percentage anchors the decision. The RIR adjusts it.
How to Develop Your Internal Gauge
Beginners struggle with both RPE and RIR estimation. Most underestimate their remaining capacity (calling sets 1 RIR when they had 3-4 reps left) because high effort feels unfamiliar. This improves with practice, and you can accelerate it.
Test your estimates. On the last set of an exercise, predict your RIR, then rep out to actual failure to verify. If you predicted 2 RIR and completed five more reps, your calibration needs work. Do this once per session on a safe exercise (machines or isolation work, not heavy barbell compounds).
Film your sets. Bar speed is an objective proxy for proximity to failure. Reps at 3 RIR move noticeably faster than reps at 1 RIR. Watching playback connects your internal sensation with external performance data.
Track RPE and RIR separately in your log. After a conditioning piece, write down the RPE. After a lifting set, write down the RIR and the weight. “Back squat: 140kg x 5, 2 RIR. Conditioning: 12-min AMRAP, RPE 8.” Over weeks, patterns emerge that sharpen your self-assessment.
Accept the learning curve. Most lifters develop reasonably reliable estimation after several months of intentional practice. The investment pays off because it makes every subsequent training decision more accurate. Research suggests accuracy improves with training experience and is most reliable on heavier sets closer to failure, so start by calibrating on your main compound lifts and build from there.
Common Mistakes
Using RPE when you mean RIR (and vice versa). Telling someone your squat set was “RPE 8” and meaning “I had two reps left” conflates two different systems. It usually doesn’t cause problems in casual conversation, but it matters when programming prescribes specific targets. Know which system the program is using and apply it correctly.
Rating conditioning by muscle fatigue instead of overall effort. Your quads might feel like 2 RIR after a rowing interval, but your cardiovascular system was at RPE 9. Rate the conditioning piece by the overall experience, not one body part.
Always training to 0 RIR on compounds. Grinding to failure on every set of squats, deadlifts, and presses produces rapid burnout, technique degradation, and injury. Save 0 RIR for isolation work where the risk-to-reward ratio is favorable.
Using low RIR as an excuse to underload. “I stopped at 3 RIR” means nothing if the weight was too light to begin with. If your target is 3 sets of 8 at 2 RIR and you complete 8 reps with a weight you could have done 15 with, the problem isn’t your RIR target. It’s your load selection.
Confusing fatigue drift with a problem. Your first working set at 100kg might be 3 RIR. By set four, that same 100kg might be 1 RIR. This is normal and expected. The RIR target applies to your first working set. As fatigue accumulates, you naturally drift closer to failure with the same weight, which is still productive. You only need to reduce weight if you can’t complete the minimum reps in the prescribed range with acceptable technique. The same principle applies to conditioning: a Forever piece that starts at RPE 4-5 will feel harder by the end even at the same pace. That’s physiology, not a pacing error.
How the FLEX Program Uses Both Systems
The FLEX Program prescribes RIR targets for all strength and hypertrophy work, with different targets for compound lifts (typically 2-3 RIR) and isolation accessories (typically 1-2 RIR). Conditioning pieces use a pacing system with four categories: Forever (RPE 4-5), Sustainable (RPE 6-7), Aggressive (RPE 8-9), and All-Out (RPE 9-10). Each pacing category corresponds to a specific conditioning intensity and targets a different quality within your overall conditioning development.
FLEX uses pacing names rather than RPE numbers in day-to-day programming because they’re easier to execute in real time. RPE numbers require internal calibration that develops over months of deliberate practice. Pacing names communicate the right approach immediately. You don’t need to know what RPE 6 feels like to understand “this is the fastest pace you can hold for the whole workout.” For members who want more precision or who are already familiar with RPE from other training, the RPE values mapped to each category provide an additional reference layer. For a full breakdown of how these pacing categories work in practice, see the conditioning pacing guide in the help center.
This dual approach ensures you’re always training at the right intensity for the right purpose: close enough to muscular failure to drive strength and muscle adaptations on your lifts, and at the right overall effort level to build the specific conditioning quality each session is targeting.

